
Follow the steps below to enable CCT logging:
- Stop the service “EMC Captiva Cloud Service”.
- Go to “<PROGRAM FILES>\EMC Captiva\Captiva Cloud Runtime” directory.
- Backup the files “Emc.Captiva.WebCaptureRunner.exe.config”, “Emc.Captiva.WebCaptureService.exe.config” and “Emc.Captiva.WebToolkitHost.exe.config”.
- Download the 3 config files below
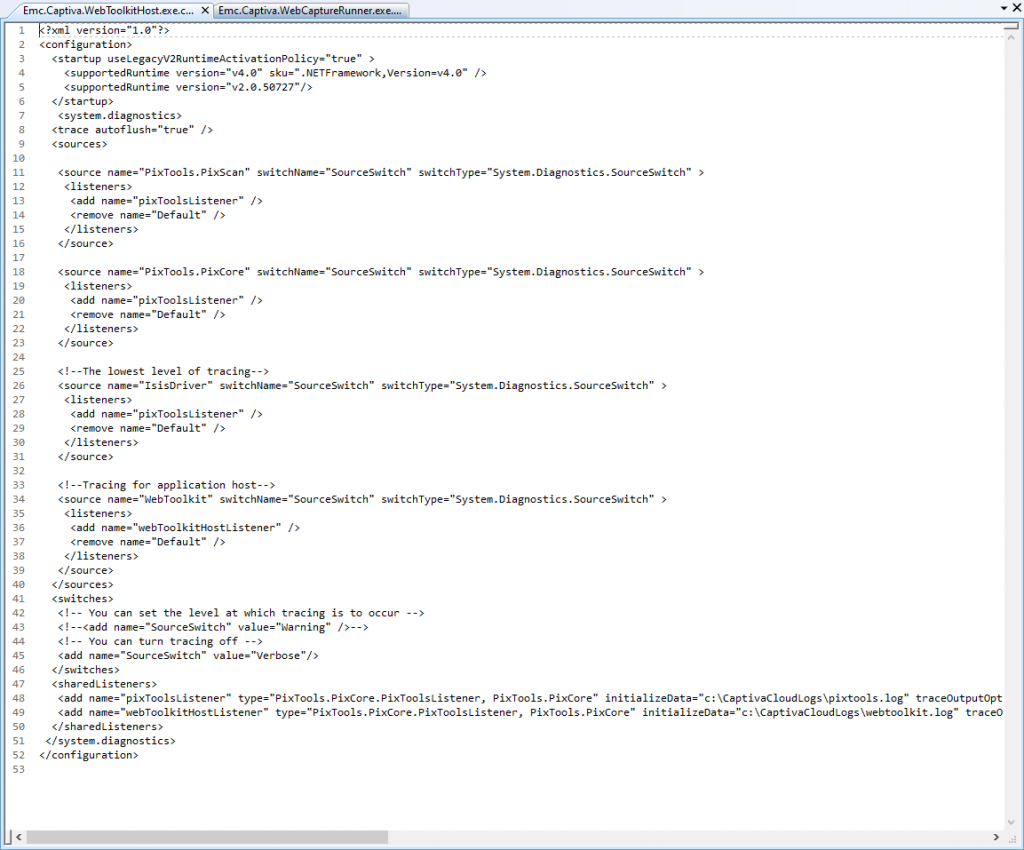
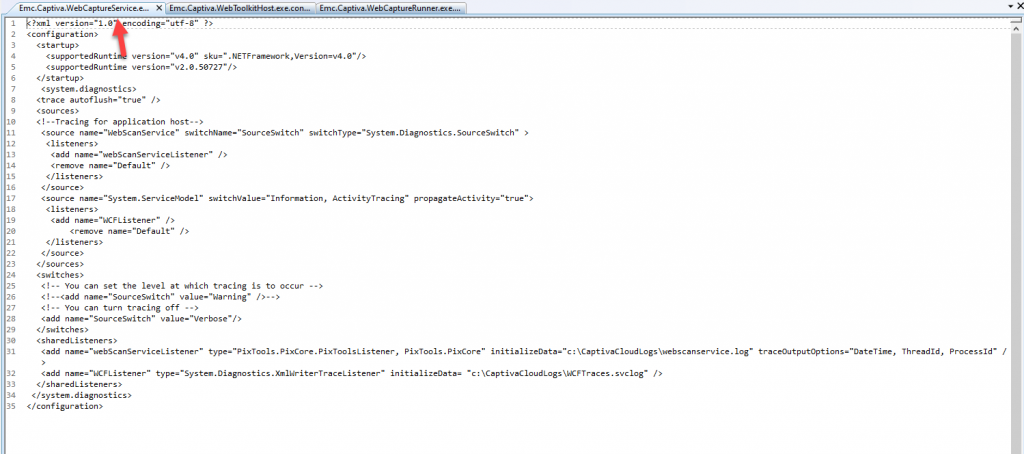
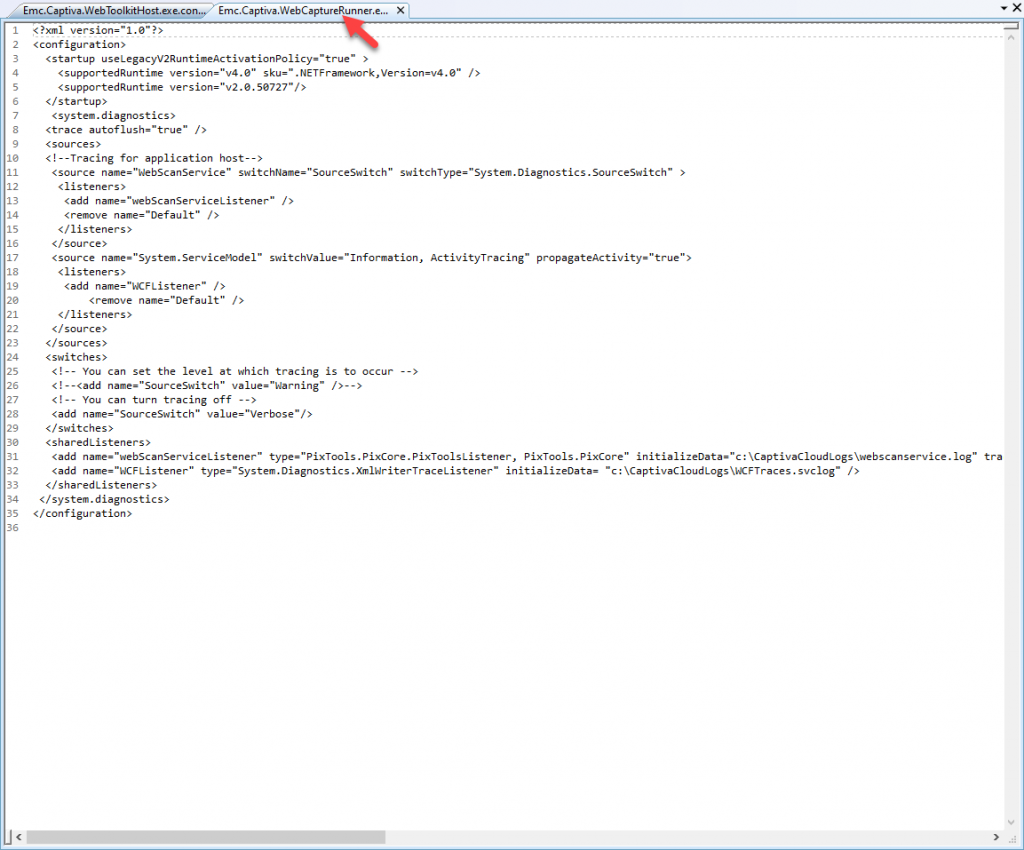
- Put these files to the “<PROGRAM FILES>\EMC Captiva\Captiva Cloud Runtime” directory and replace the already existing config files.
- Create the folder: “C:\CaptivaCloudLogs”. Note that the CCT Service will not create this directory. Therefore, If logging is enabled and this folder isn’t created, then Cloud Capture Service will not start.
- Start the CCT service again.
- Try the test case, the log files will be created in the directory “C:\CaptivaCloudLogs”.
Follow the steps below to stop CCT logging:
- Stop the service “EMC Captiva Cloud Service”.
- Go to “<PROGRAM FILES>\EMC Captiva\Captiva Cloud Runtime” directory.
- Delete the files “Emc.Captiva.WebCaptureRunner.exe.config”, “Emc.Captiva.WebCaptureService.exe.config” and “Emc.Captiva.WebToolkitHost.exe.config”.
- Restore the backed up config files.
- Start the CCT service again.